Artist | Teacher |Researcher


Reflective Screencast
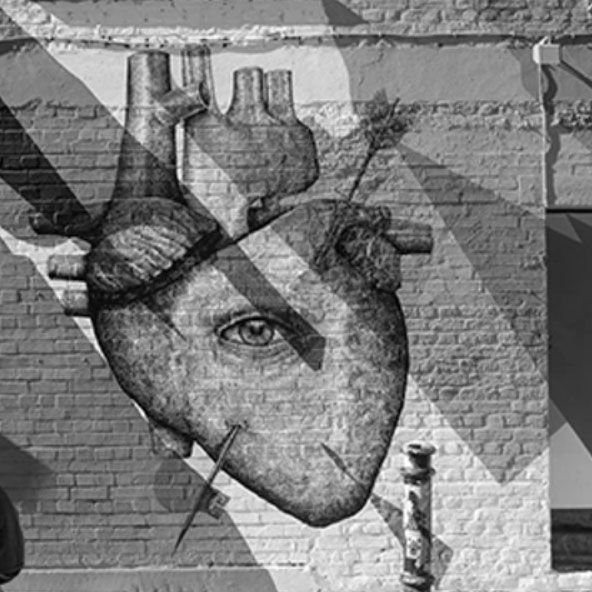
During my placement, I had four groups of first-year students for this reflective screencast. As they begin learning how to draw facial characteristics, students had to investigate a variety of approaches to sketching a face. As we discuss drawing facial features, they also learn how to draw a face from the front.
In these series of phases, they discussed the general positions of the facial features, and also discovered a few proportional comparisons you can use to ensure that a face characteristics are positioned correctly.
they largely emphasise how to apply tone and sketch facial characteristics. Throughout various activities, the students tried various techniques for sketching a facial feature, and following the illustrations, they added tone to their drawings.they examined many methods for drawing a face. they started out by learning how to draw a face from the frontal aspect as we explore facial feature drawing.They reviewed the general locations of facial features in this sequence of phases, and they also learned a few proportional comparisons you can use to check that your face features are positioned correctly
The learning goals was determining by variables success. During class, the concept of "facial features" was covered, and students had the opportunity to brainstorm possible definitions.
Demonstrate to the entire class how to apply tone to specific parts of the drawing, where the lightest and darkest areas should be, and how to draw a facial feature (nose, mouth, and eye).
Demonstration with each student who requires further assistance to ensure that they all understand the learning objectives at the same level.
Demonstrate an ability to design proportionate outlines of facial features.
Make several sketches utilising various human facial characteristics .
Able to correctly shade specific facial features using various pencil tones
Observe proportional elements of the face and placement of facial features.
Use the technique discussed in class to create a pencil sketch of a facial feature that is carefully done, presented beautifully, and scaled to fit an A4 sheet of watercolour paper

In order for my second two groups to see the finished task and what I expected of them, I evaluated the work done by the first two groups and displayed it on the classroom wall.
I gave my two second groups examples of the students' greatest work that met the success criteria.
The successful drawing as it appears on the board was examined by the second block. Students were instructed to use shape, line, and tone to differentiate between their own artwork and a piece by Jon de Martin.
Students were instructed to write down the key features of their drawings in order to assess the proper and wrong techniques and have a group discussion about them.
That teaching method:
•Helped students to have a solid understanding of the subject matter at hand (facial features) by displaying different artists work that students will be required to debate in groups
•Encourages observational drawing by showing multiple artist work
•Empowered students to learn more about the many media that artists (in this case, those working in sculpture, red and white chalk, and painting) can use to produce proportional facial features.
•Helped pupils who are visual learners to receive a solid example on their eyes as references Improve
•Gained access to the ability to precisely see shapes, lines, tones, and gradients.
•An effective visual example that may be used to guide them in making changes and improving their work as it progresses.

Comparison of students work from the first and second blocks

Two distinct students' final work are contrasted here: In line to meet exception on the left and meet expectation on the right.

I went through the same process, comparing the students' completed work.


